Spokane jr Chiefs | New to hockey
Let's GEAR UP!
Click on the buttons below to navigate to each section of this page.
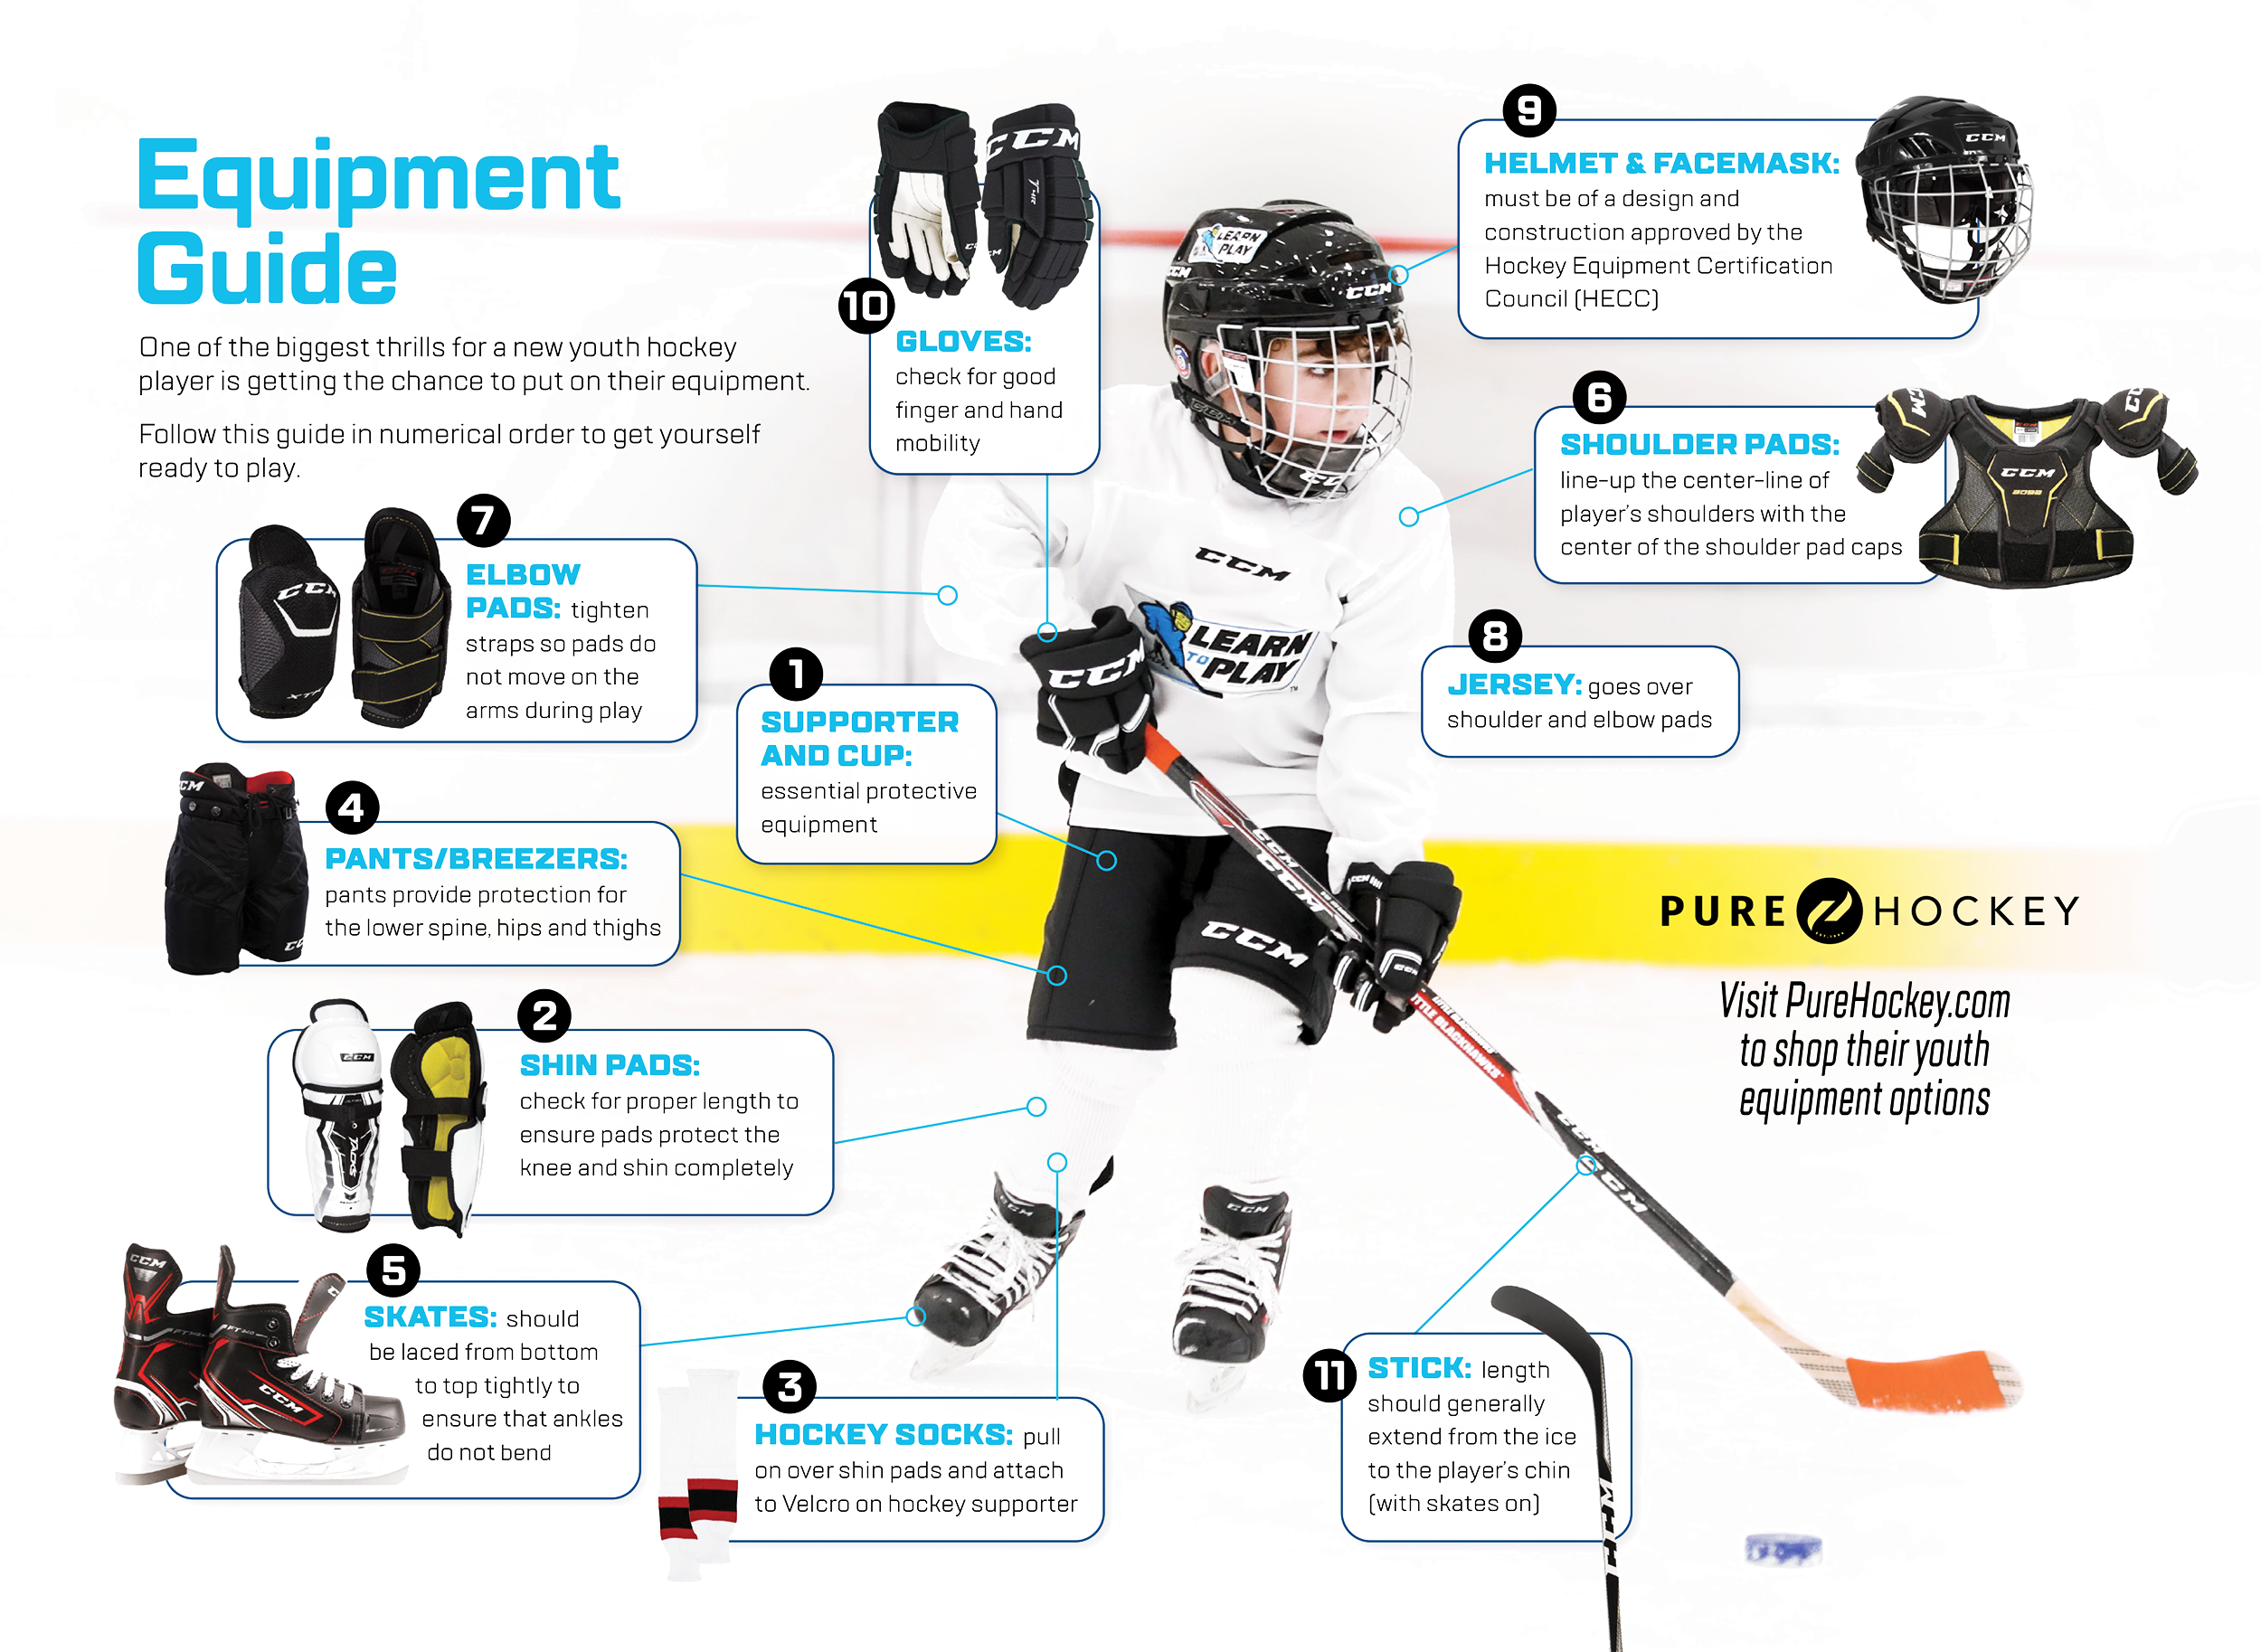
Hockey programs require full hockey gear at all times.
- Hockey Skates
- Hockey Helmet with Full Face Guard
- Mouthguard
- Hockey Gloves
- Hockey Stick
- Elbow Pads
- Hockey Pants
- Shin Pads
- Shoulder Pads
- Jersey/Socks
Optional Equipment
- Base layers
- Jock/Jill
- Neck Guard
- Hockey Bag
- Guards/Soakers
Reminder: Kids ages 5-9 that are new to hockey and joining our Kraken NHL Learn to Play 1 program get first-time gear for free included with the lessons.
BASE LAYERS
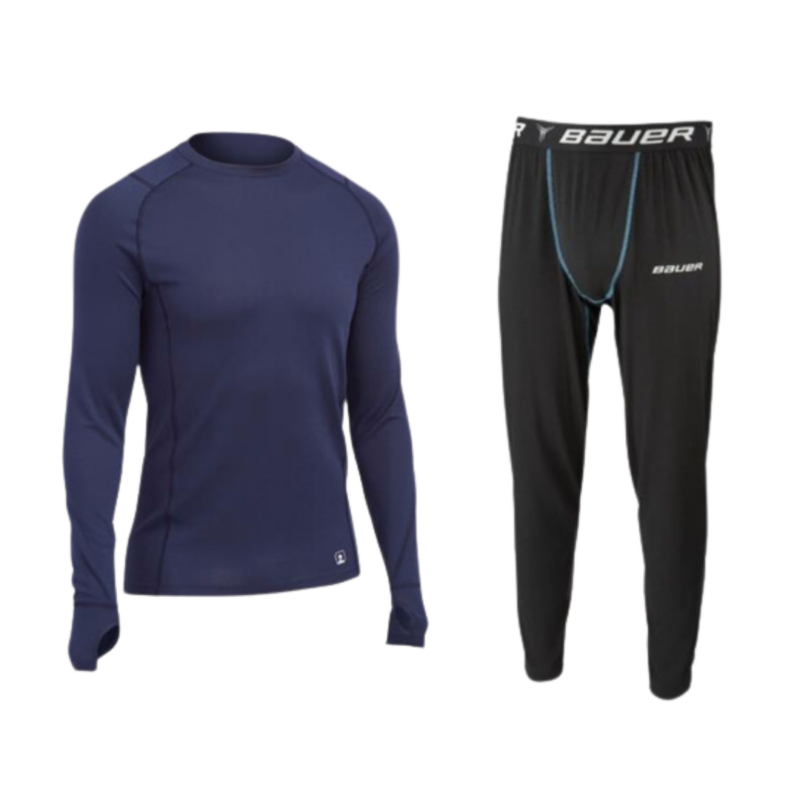
- A long shirt and pants that are breathable and typically a moisture-wicking material works best.
- The base layer should fit tight and feel comfortable.
- This layer improves the fit of the pads and helps control body temperature. It also provides a barrier between the skin and any bacteria that may grow on the pads.
- Some base layers have a cup/pelvic protection built in and Velcro strips for hockey socks. This would replace the need for jock shorts/cup or jill/pelvic protection.
On all compression-style jocks/jills, there is an interior compartment where a cup goes, which is essential, as it protects against all types of contact. They also hold up the player's socks, thanks to the Velcro tabs. Simply attach their tab to the tabs that are on the insides of all modern mesh socks and they should be good to go!
Upper Body Gear

Shoulder Pads
SHOULDER PADS protect the collarbone, upper chest, back, upper arms, and shoulders.
- Shoulder pads should fit like a comfy t-shirt.
- When putting on the shoulder pads, the player should bend over and move their torso from side to side to make sure their movements are not inhibited.
- The shoulder pads are worn under the jersey

Elbow Pads
ELBOW PADS protect the arm from the bicep extension of the shoulder pads to the cuff of the gloves.
- The elbow pads have adjustable Velcro straps that allow the player to secure the pads to their own comfort.
- Do not put the pads on too loosely because they will move around during practice/games. If you tighten them too tight, they will restrict the player’s mobility.
- Elbow pads are worn under the jersey on both the right and left elbow.

Helmet
HELMET (WITH FACEMASK) protects the face, jaw, and head from falls, hits, and pucks.
- All helmets come with a HECC sticker located on the back that ensures that the helmet is not expired and is designed by the manufacturer with no modifications.
- Make sure the helmet sits flat on the skater’s head. It should fit snugly and not slide around or squeeze too tight.
- Adjust the chin strap so that it fits firmly under the chin.
- There are tool-free clips (on each side of the helmet) that allow for easy adjustments.
- For girls, wearing a low ponytail or pulling your hair back with a headband may help with comfort.

Gloves
GLOVES protect the hands, fingers, and wrists.
- For the most part, gloves are all about a player’s preference. Some like them loose, some like them tight.
- Practice gripping/holding a hockey stick with the gloves on. The glove should feel comfortable but not too loose or the player’s grip will be inhibited.
- The player should have good finger and hand mobility when wearing the gloves.
- Elbow pads are worn under the jersey on both the right and left elbow.

Jersey
JERSEY is worn over the elbow pads and shoulder pads.
- Generally, the sleeves will rest just below the wrists on the top of the hand and the length will cover the torso and touch the thighs.
- A jersey helps identify a team and player.
MouthGuard
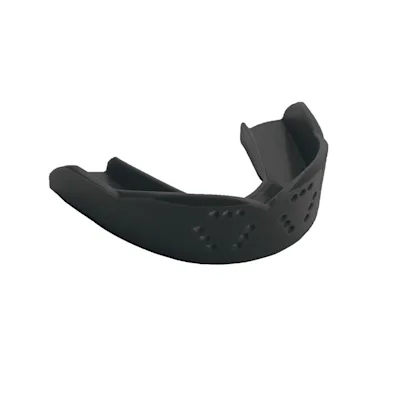
MOUTHGUARDS protect your child's teeth and jaw upon impact, but more importantly, will help reduce the risk of head and brain injuries.
- USA Hockey requires mouthguards for all youth hockey players playing in 12U and up. We recommend that all players wear mouthguards to prevent head, brain, tooth, and mouth injuries.
- Your dentist may offer complementary mouthguards.
Lower Body Gear

Shin Guards
SHIN GUARDS protect the lower leg and knee from contact with pucks, sticks, and other players.
- The shin guard has adjustable Velcro straps that allow the player to tighten or loosen the straps to a comfortable fit.
- Make sure the straps are tight enough to keep the pad in place –it should not shift around or move.
- The bottom of the shin guard should fit comfortably under the skate tongue without shifting or moving around.
- Shin guards are worn under hockey socks on both the right and left shin.

Socks
SOCKS match the team’s colors and are worn during practice and games.
- A player’s socks are pulled over and cover the shin guards.
- They can be held in place with a garter, Velcro tabs on jock/jill shorts, or Velcro from base layers. Some players like to use tape on the outside of the socks (wrapped around the outside of the leg).
- Mesh socks are recommended versus knit socks, as they are more breathable, more cut-resistant, and generally easier to attach to garters or jock/jill shorts.
- Socks should feel comfortable, but not too loose or they’ll inhibit a player’s skating.

Hockey Pants
PANTS protect the butt, spine, hips, waist, kidneys, and thighs from falls, hits, and pucks.
- The pants should not rotate or slip down when tightened.
- If the pants are too loose or slip down, suspenders can be purchased to hold them in place.
- The bottom of the pants should touch the top of the player’s shin guards.
- It is important to get your child a properly fitted pair of pants to ensure that they are not sagging down or too small, which would leave the bottom of the thigh exposed to injury.
STICKS & SKATES

Hockey Stick
STICK When choosing a hockey stick, there are two main factors to keep in mind: the flex of the stick and the height of the stick.
- At the early stage of learning to play hockey, it’s important for the player to get comfortable holding a stick and using it while skating. A righty or lefty stick is not as important at this level of play.
- The length should extend from the ice to the player’s chin (with skates on).
- Many players like to use hockey tape on the blade of the stick and the top of the shaft. A coach or equipment expert can help with taping.
- Elbow pads are worn under the jersey on both the right and left elbow.
Sticks
A piece of hockey equipment that is crucial for the development of youth hockey players is the hockey stick. When choosing a hockey stick, there are two main factors to keep in mind: the flex of the stick and the height of the stick.
If your child selects a stick that has too high of a flex number, they will have a tough time flexing their stick during shots, thus negatively affecting their shot power. When it comes to flex, the general rule of thumb is to divide your child's weight in half and that number would be the flex that you should start with. For example, if your child is 80 pounds, he or she will want to start with a 40 flex stick.
If your child gets a stick that is too short or too long, it can negatively affect their hockey stance. Regarding stick length, the common length is to have the stick come right up to the player's chin. This allows your child to have the best control of the stick during stick handing, shooting, and defense.
Something else to consider is the stick's curve. If the right hand is at the top end of the shaft, then the blade should be a left curve; if the left hand is at the top end of the shaft, then the blade should be a right curve.

Hockey Skates
SKATES are important to a player’s performance.
- The skate should fit very snug; tighter than a shoe, for proper support and to enable a good push-off without any movement.
- Wear skates around the house (with skate guards on!) to get used to the feel.
- Adjust the laces to alleviate any pressure and spread support evenly over the foot.
- Remember, it takes a few wears to break in a new pair of skates!
Skates
Skates are a vital piece of youth hockey equipment and can affect the way younger kids develop their game of ice hockey. An improperly fitting pair of skates can be uncomfortable and may make kids not want to get out on the ice. When choosing a pair of skates, it is important to make sure that they are the right size, the right fit for their foot shape, and made of high-quality materials.
Sizing a skate is always challenging for fast-growing kids who can’t always give feedback about how well their foot fits inside of a skate. Here are some tips:
- While standing, the heel should be snug to the back of the boot and the toes should slightly brush the toe cap.
- Skates that are too small will hurt immediately or just not go onto the foot.
- DO NOT BUY skates in a larger size for players to 'grow into'. This creates challenges when learning, and can cause injury to the feet or ankles.
- Some amount of callusing will occur over time, but blisters should not occur and usually indicate that there is too much play in the boot (i.e. the skate is too big)
- There is no substitute for trying on skates!
ACCESSORIES
While not required, these accessories and additional pieces of equipment can make your start to hockey a bit easier.
Hockey Bag
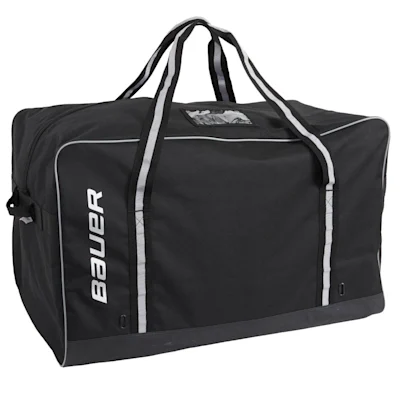
HOCKEY BAGS are used to carry all of a player's gear. There are different sizes available, generally youth and senior/adult.
- Hockey bags come in two different styles: wheeled and carry. Wheeled hockey bags are popular among younger kids, as most at that age are not able to carry a heavy bag filled with equipment.
- Bag styles and sizes all come down to personal preference and which style works best for your child.
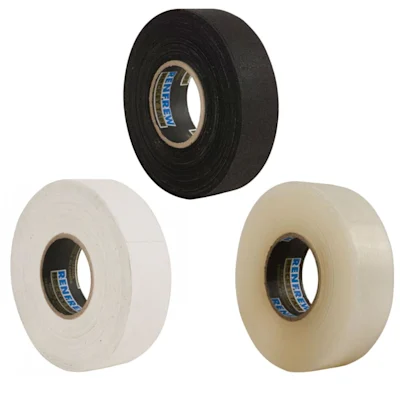
Hockey Tape
HOCKEY TAPE comes in a variety of styles, namely cloth (stick) and clear (sock) tape.
- Many skaters may wish to tape their sticks with cloth tape to help with grip and distinguish their stick from another skater’s.
- Clear sock tape is flexible and water-resistant. A single strip can be wrapped around the shin guards and socks, just below the knee, which will help to keep everything in place and ensure that no equipment hinders skating ability.
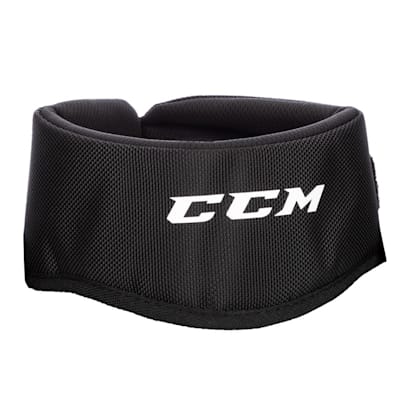
Neck Guard
NECK GUARDS are intended to protect against skate blade cuts and stick hits to the neck and prevent head and spinal injuries.
- Although incidents that can be prevented by a neck guard are rare, you should decide for your own child whether wearing a neck guard is appropriate.
- Neck guards are not required by USA Hockey, but are required by Hockey Canada.
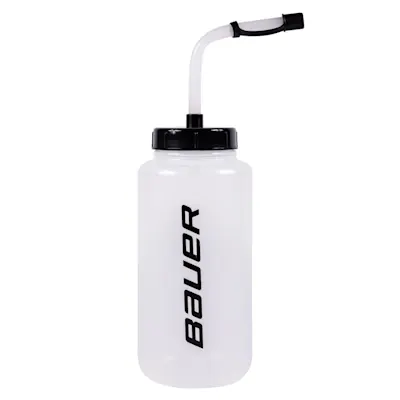
Water Bottle
WATER BOTTLES are a necessity during practices and games when players are working hard.
- Any water bottle works, but keep in mind that unscrewing a lid or dealing with any sort of cap may be difficult for kids if they have their gloves on.
- Use a Sharpie/tape/sticker/label to write the skater’s name in a visible spot on the water bottle.
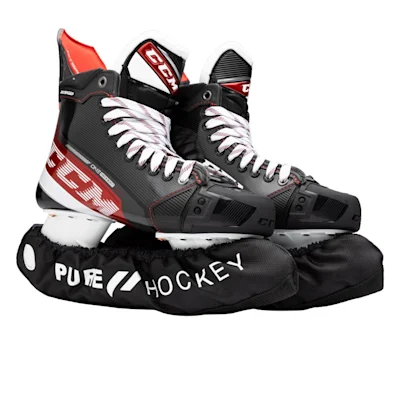
Guards/Soakers
GUARDS/SOAKERS are essentially cloth sleeves or plastic covers that go over each blade.
- Guards/soakers help protect the skate's blades against any potential nicks while in the hockey bag.
- They also help dry the blades of any water/ice to help prevent corrosion.
- Players may also use a skate towel to dry their blades before putting guards/soakers on.
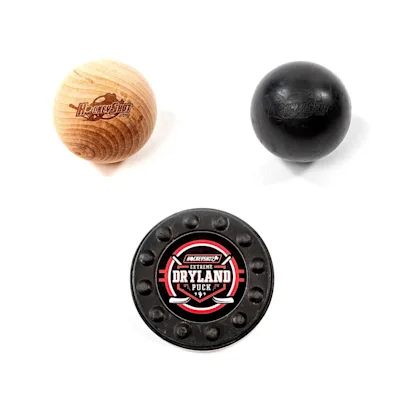
Pucks or Balls
PUCKS AND/OR BALLS allow players to practice their skills when they aren't at the rink.
- There are lots of options for players to practice their skills on and off the ice, it is all based on personal preference and what skills they are working on.
- If a player attends a stick and puck session at a local rink, they will need to bring their own pucks.
DRESSING YOUR PLAYER
Resources
GEAR CARE
Taking care of your pads, gear, and skates will help keep them in great shape as long as your player can wear them (which can also help with re-sale!).
FAQs
To name a few guys using CCM products, 3-time Stanley Cup Champion Sidney Crosby sports a full gear set up from CCM. The young generational talent, Connor McDavid, is also affiliated with CCM. Alex Ovechkin, the guy with nearly 650 career goals, is another superstar among many who are currently affiliated with the brand. Bauer has a few guys of their own who you have probably heard of, as well. To start, the youngster Auston Matthews, one of the best young players in the NHL right now, wears a full Bauer gear set up. Prior to Matthews, Jack Eichel was drafted, and he is a young emerging superstar as well. Eichel is another ambassador for Bauer and serves as the "face" of the Supreme 2S Pro Hockey Stick. There are a number of elite veterans in full Bauer set ups as well, such as Patrick Kane and Claude Giroux, for example.
The general rule of thumb for youth skates is to go down one size from your shoe size. For example, if they wear a size 6 shoe, they will likely want to start with a size 5 skate. The sizing charts on HockeyMonkey.com are a great reference point.
Going this route is never recommended for skates. No matter what age, skates that are too big will affect everything they do on the ice. Skates that are too big will inhibit skating ability and the ability to improve, which is vital at a young age. There is the risk for potential injury, as well.
As per USA Hockey rules, youth players will need an approved helmet with a mask, mouthguard, neckguard, shoulder pads, elbow pads, athletic cup, pants, gloves, shin guards, skates, and a stick.
Helmet: While on, place your hands on the top and see how much the helmet moves. You do not want it to shake or wobble around much on your child's head, but you also don't want it too tight. Elbow pads: While fastened on the arm, there should be no slippage of the elbow pads, but they should not be too tight, either. Shoulder pads: You will want to make sure they fit snug against your child's body while fastened.
There are many different curve options, each with certain advantages. The P92 curve is the most popular and a good option to start with. It helps players excel in puck control, quick shot release, and lifting their shots. The P88 is also a very popular curve. This one will help them with stick handling, wrist shots, and precision passing.
All base layers, jock, jersey, pants, inner liner of shin guards (if removeable), shoulder and elbow pads, and gloves can all be washed in a washing machine. If you choose to do this, make sure that you are using warm water, regular detergent (no bleach), and use the gentle cycle setting. Also, be sure to fasten all Velcro straps to ensure that they don't get damaged. Following the wash, you can either air dry the equipment or put it in the dryer on the low setting.
Hockey Equipment should be stored in a cool, open area whenever possible. You will not want to let it sit in your bag until the next time you need to use it. You can take it out of your bag and lay it out on the ground to air dry or place each piece of gear on an equipment drying rack.
Wear base layers. Base layers are a form fitting upper body shirt, compression pants, and a pair of socks. By wearing these layers, not only will it help wick away sweat and moisture, but it will also serve as a shield between the body and the equipment so that the body does not have direct contact with it. Removing the skate soles is also recommended. Doing so allows skates to air out and eliminates the opportunity for rust to form. Additionally, before placing the gear to air dry, you can use a few sprays of a gear deodorizer spray on each piece of gear. Deodorizer spray helps neutralize, destroy, and deodorize any odors.
